Hey everyone, I hope you are having an incredible day today. Today, I’m gonna show you how to prepare a special dish, fried chapatis. One of my favorites. This time, I’m gonna make it a little bit tasty. This will be really delicious.
Fried Chapatis is one of the most favored of current trending foods in the world. It is easy, it’s fast, it tastes yummy. It is appreciated by millions every day. They’re fine and they look wonderful. Fried Chapatis is something that I have loved my entire life.
Storing chapatis Line a bowl with cotton towel. Place the cooked chapati on the bowl and cover with a towel. I followed your recipe and for the first time ever made made soft fluffy chapatis!
To get started with this recipe, we must prepare a few components. You can have fried chapatis using 5 ingredients and 16 steps. Here is how you can achieve that.
The ingredients needed to make Fried Chapatis:
- Take 1-2 warm water
- Make ready 3-4 cups wheat flour, plus extra for kneading and dusting
- Prepare 1 tbsp salt
- Prepare 1 tsp sugar
- Take Enough vegetable cooking oil for frying
This delicious chapati unleavened flatbread made with flour, salt, and water and cooked quickly on a griddle, is a wonderful addition for your dinner table. Chapatis are Indian breads, also called rotis. These ingredients are mixed to form a dough which is formed into flat discs which can be grilled or fried, depending on the region. - Once fried, stack the chapathis/phulkas one above the other and immediately close the lid. I too made appalingly bad chapatis until recently.
Instructions to make Fried Chapatis:
- Take a large bowl, measure 3- 4 cups of wheat flour
- In another bowl, mix salt and sugar and add 1 to 1.5 cup of water, stir until the salt and sugar dissolves
- Put the 3 to 4 cups of wheat flour into a bowl, then add the liquid mixture of salt and sugar slowly by slowly mixing continuously until the dough becomes soft.
- Knead the dough for 5 minutes and add wheat flour if needed.
- You can now transfer the dough on a flat surface like tray & continue kneading and adding flour when needed for 10 to 15 minutes. Then add more flour to make it more thick but not too hard to attain the elastic dough.
- Return the ready chapati dough in a bowl and add some oil and knead to mix it up until it's soft and sticky. Cover the dough and leave it for 30 to 40 minutes.
- After the 30 mins, divide the dough into 5 to 6 equal parts making ball like shapes. Arrange them in a flat surface / tray dusted with the wheat flour.
- Then pick one of the big balls right away and place it on a flat surface.
- With the rolling pin, roll the ball to a circular shape.
- Then brush the circular large chapati with oil on top.
- Then brush the circular large chapati with oil on top.
- At the side that faces you, start folding and rolling each and every piece of the oiled chapatis separately with both hands as if you are rolling a rode away from your direction, the repeat the process for all the big balls in STEP 7 above
- Once you have a shape that looks like a coil like shape for all of the chappatis.
- Then you make coiled balls & with your palm, press the balls down to make them flat separately, and place on a flat surface.
- With a rolling pin make make a circular shape for each of the coiled balls of chapati again, where layers are now formed on the chapatis.
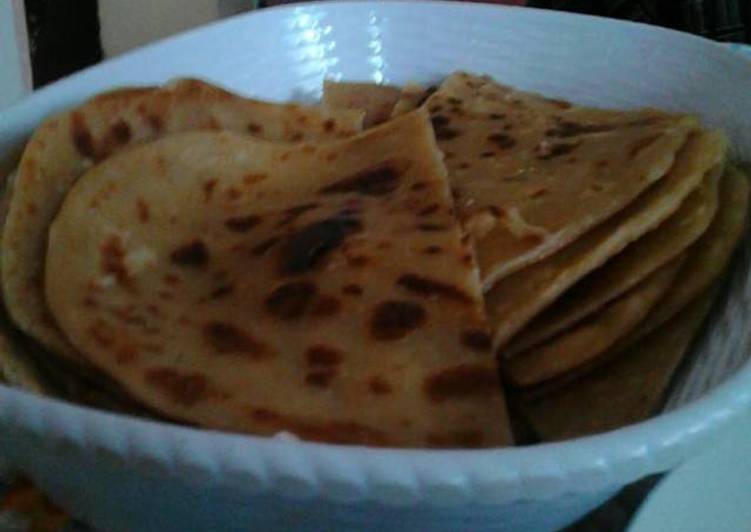
- Place the rolled out circular chapati (s) in a hot pan and fry each side until it's golden brown on the medium heat, and repeat for all the rolled out chappatis and place in a plastic wrap or container and cover to serve after completion of cooking.
Now they are inconsistent and "OK". East African Chapati- Easy to make chapati that are Flaky, layered and Delicious. At this stage you may proceed to cooking. However, if you want chapatis with layers you have to do the next steps. out - traditional chapatis are chewy and oily. So divide your dough, and then each smaller ball of dough you want to roll out into a long tube.
So that is going to wrap it up for this special food fried chapatis recipe. Thanks so much for your time. I am confident that you will make this at home. There is gonna be more interesting food in home recipes coming up. Don’t forget to save this page on your browser, and share it to your family, friends and colleague. Thank you for reading. Go on get cooking!